Top up and control credit spend
Buy a one-time credit top-up, set a monthly spend, turn on auto-reload, and cap what a workspace can spend — all from the billing dashboard.
Credits are managed from one place: Settings → Billing. This guide covers buying credits and putting guardrails on spend.
Workspace admins with billing access. Buying credits and changing spend controls are admin actions.
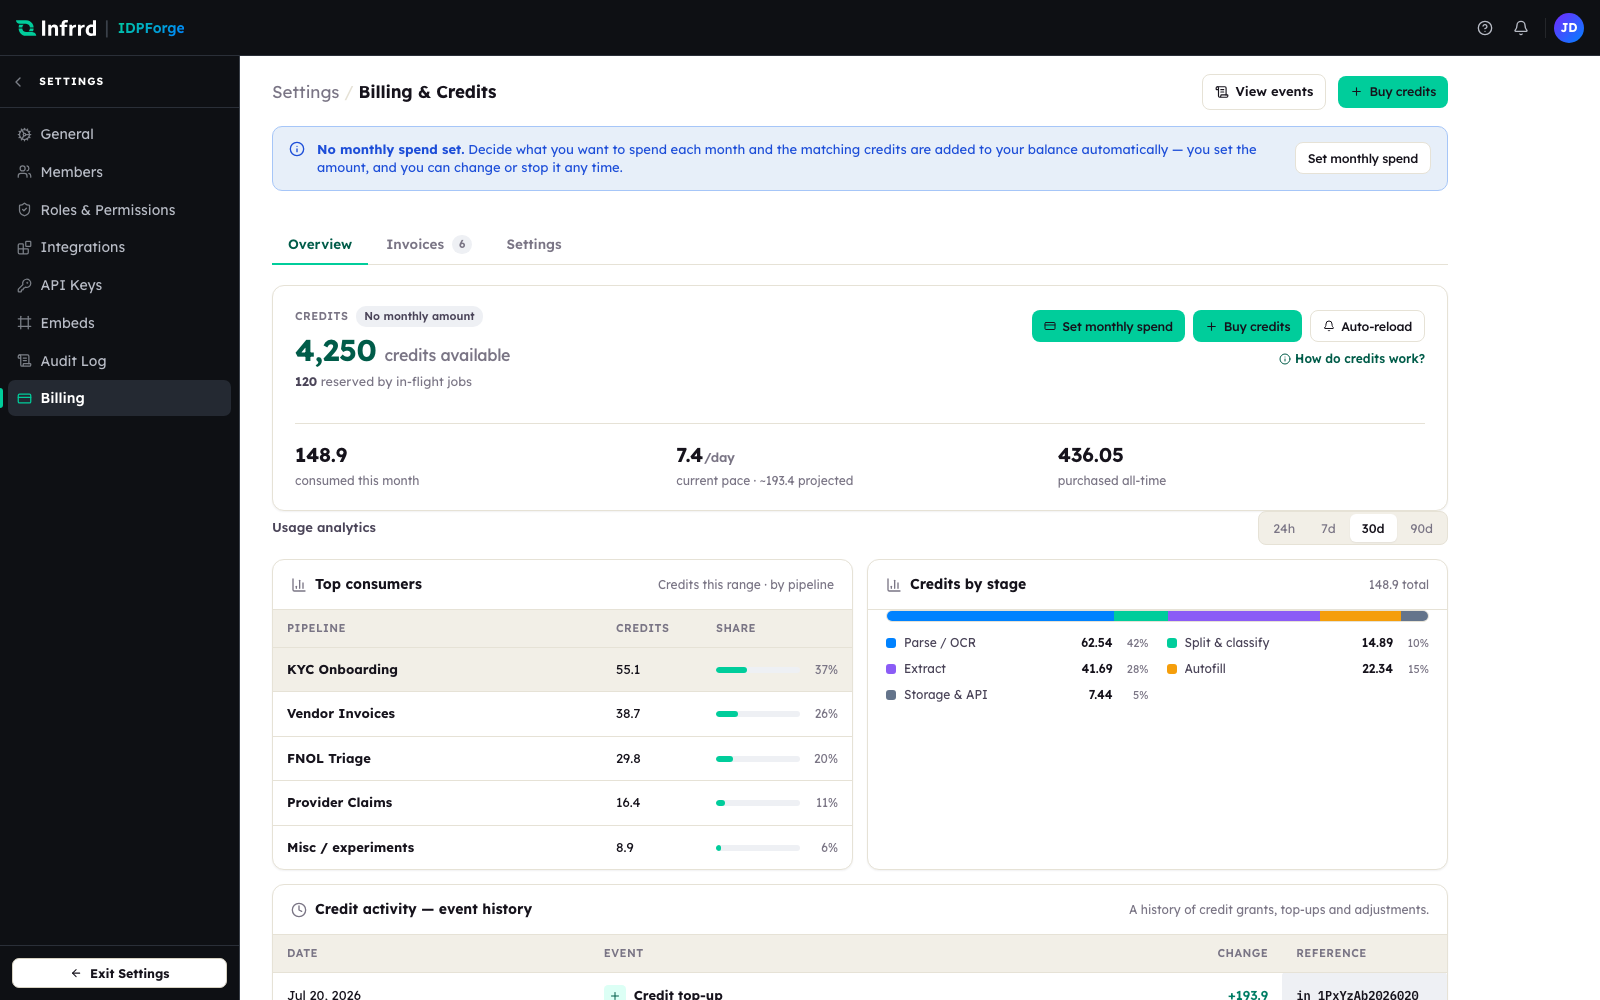
The billing dashboard. The credits card at the top holds the money actions — monthly spend, Buy credits, and Auto-reload.
1. Buy a one-time top-up
Choose Buy credits and enter an amount in US dollars, or pick a preset. The dialog shows how many credits the amount buys before you confirm — you are credited for the full amount you pay, with no payment-processing fee taken out. If you pay with a saved card the charge runs immediately, though your bank may ask you to authenticate; without a chargeable card you are taken to a hosted payment page. Top-up credits carry over from month to month rather than expiring.
2. Set a monthly spend
Choose Buy Subscription on the credits card, or Set monthly spend on the banner, and pick an amount to spend each month; the matching credits are added to your balance each billing cycle. Monthly spend charges your default card, so add one first. Change the amount later with Change Plan, or stop it with Turn off in the same dialog.
3. Turn on auto-reload
Choose Auto-reload, turn on Enable auto-reload, and set When balance drops below (in credits) and a Reload amount. When your balance falls under the threshold, your default card is charged and the credits are added, which keeps long-running integrations from stalling on an empty balance.
4. Cap what the workspace can spend
The Settings tab of the billing dashboard holds the spend guardrails.
- Monthly spend cap — set Cap (credits / month). Once that many credits have been used in the month, new jobs are rejected with a 402. Alert me at sets the percentage of the cap at which you are warned.
- Overage — turn on Enable overage and set Limit ($ / cycle) to let jobs keep running after your credits run out, up to that amount each billing cycle; the overage used is billed at cycle close. With overage off, an empty balance stops new jobs with a 402 rather than spending more.
- Low-balance alert — shows a warning on Billing when your balance drops below a number of credits you choose.
5. Release held credits
Blocked and partial jobs hold their reservations. The banner above the Jobs list offers Release all held credits; after you confirm, those credits return to your balance and the held jobs are marked failed, so they can no longer be re-run. To release one job, open it and choose Discard & release credits.
Edge cases
- Credits are granted on payment, not on click. A top-up adds credits only once the payment is confirmed — a pending card shows no new balance yet.
- Free credits carry forward. Starting a monthly spend adds its credits on top of any free credits you have left, and free credits are still spent first.